
fscan
无论是扫主机存活还是端口开放情况都是一把好手,不仅是内网,外网的资产探测也很好用。
神
fscan 也可以扫描域名!!但是跟那个谁的哪个工具很像很像很像来着,命令基本都一样很像很像
1. fscan 扫描 ip:
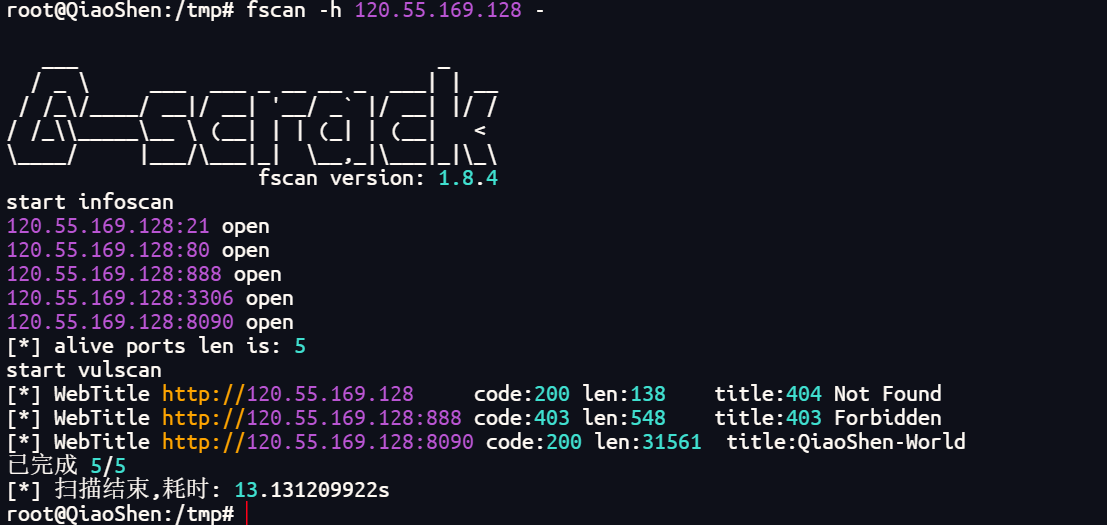
fscan -p 1-65535 -h ip
fscan 扫描 域名
fscan -p 1-65535 -h 域名
域名不可以存在 协议!! 必须是 域名资产!!
2. -u 只是针对这一个 url 这一个站点,而不管这个 url 对应的站点的这个服务器上的其他端口的情况。
使用示例
  fscan -h ip -p 1-65535 (1-100 ...  fscan 不可以直接写 “ - ” )

  -h:     指定扫描的ip
  -p:     指定扫描的端口
常见使用方法
1. 只扫描主机存活,不探测漏洞
  fscan -h ip -nopoc

2.
使用参数
Usage of fscan:
  -br int
        Brute threads (default 1)
  -c string
        exec command (ssh|wmiexec)
  -cookie string
        set poc cookie,-cookie rememberMe=login
  -debug int
        every time to LogErr (default 60)
  -dns
        using dnslog poc
  -domain string
        smb domain
  -full
        poc full scan,as: shiro 100 key
  -h string
        IP address of the host you want to scan,for example: 192.168.11.11 | 192.168.11.11-255 | 192.168.11.11,192.168.11.12
  -hash string
        hash
  -hf string
        host file, -hf ip.txt
  -hn string
        the hosts no scan,as: -hn 192.168.1.1/24
  -json
        json output
  -m string
        Select scan type ,as: -m ssh (default "all")
  -no
        not to save output log
  -nobr
        not to Brute password
  -nocolor
        no color
  -nopoc
        not to scan web vul
  -noredis
        no redis sec test
  -np
        not to ping
  -num int
        poc rate (default 20)
  -o string
        Outputfile (default "result.txt")
  -p string
        Select a port,for example: 22 | 1-65535 | 22,80,3306 (default "21,22,80,81,135,139,443,445,1433,1521,3306,5432,6379,7001,8000,8080,8089,9000,9200,11211,27017")
  -pa string
        add port base DefaultPorts,-pa 3389
  -path string
        fcgi、smb romote file path
  -ping
        using ping replace icmp
  -pn string
        the ports no scan,as: -pn 445
  -pocname string
        use the pocs these contain pocname, -pocname weblogic
  -pocpath string
        poc file path
  -portf string
        Port File
  -proxy string
        set poc proxy, -proxy http://127.0.0.1:8080
  -pwd string
        password
  -pwda string
        add a password base DefaultPasses,-pwda password
  -pwdf string
        password file
  -rf string
        redis file to write sshkey file (as: -rf id_rsa.pub)
  -rs string
        redis shell to write cron file (as: -rs 192.168.1.1:6666)
  -sc string
        ms17 shellcode,as -sc add
  -silent
        silent scan
  -socks5 string
        set socks5 proxy, will be used in tcp connection, timeout setting will not work
  -sshkey string
        sshkey file (id_rsa)
  -t int
        Thread nums (default 600)
  -time int
        Set timeout (default 3)
  -top int
        show live len top (default 10)
  -u string
        url
  -uf string
        urlfile
  -user string
        username
  -usera string
        add a user base DefaultUsers,-usera user
  -userf string
        username file
  -wmi
        start wmi
  -wt int
        Set web timeout (default 5)
`
本文链接:
/archives/fscan%20
版权声明:
本站所有文章除特别声明外,均采用 CC BY-NC-SA 4.0 许可协议。转载请注明来自
QiaoShen-World!
喜欢就支持一下吧